Update: This post was updated on April 14, 2022 as it is now possible to enable the Plus addressing feature in the Exchange admin center (EAC).
The Exchange team listened to users’ voices and finally rolled out the plus addressing feature (aka sub-addressing or dynamic “+” email aliases) in Exchange Online in October 2020. The feature was literally won over by the Exchange admins, Received 6589 votes on UserVoice (back when UserVoice was still used to collect feedback) while also becoming the most requested.
What is plus addressing and what are its limitations?
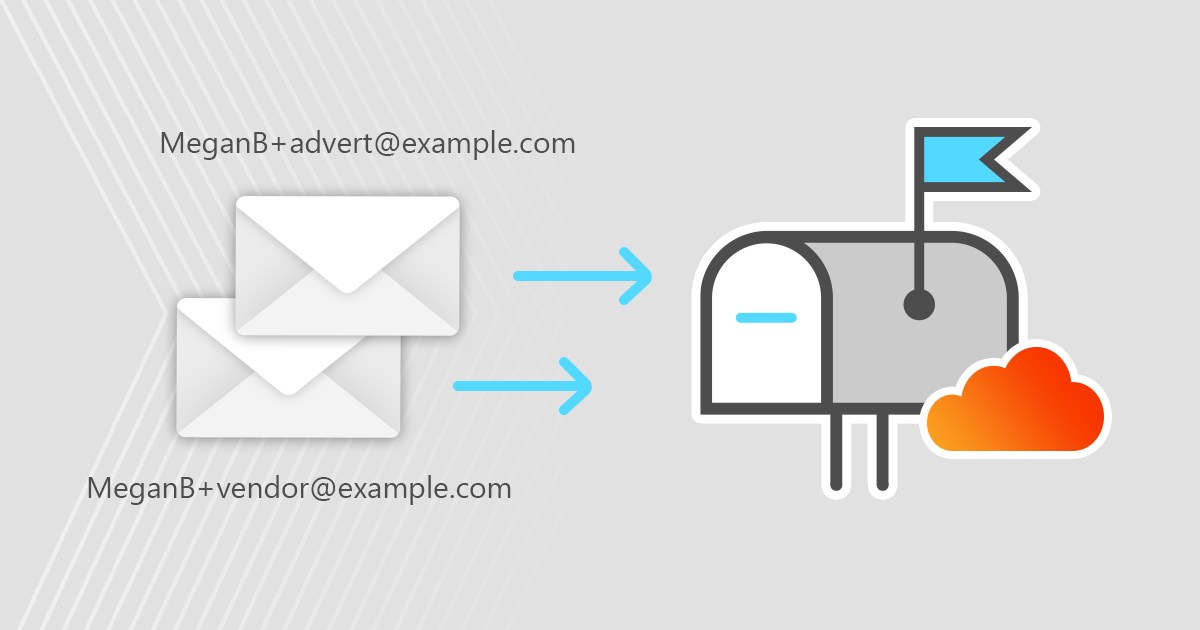
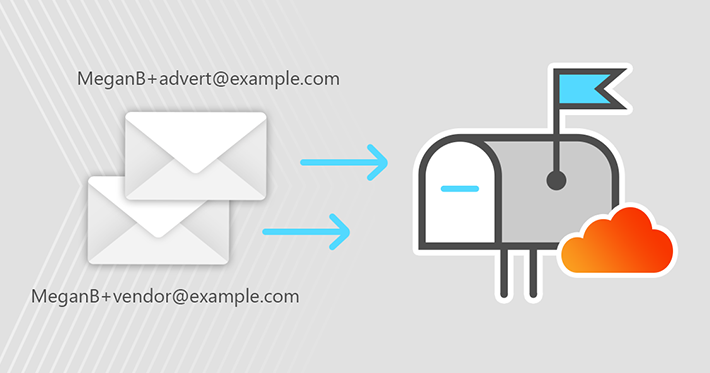
Plus addressing is about using unique receive-only email addresses, which are sort of an extension of your basic email address. It helps you keep your inbox tidy and protect it from the influx of unwanted messages.
An example? Let’s say your main address is [email protected]. With plus addressing, you can add the plus sign (+) right after the local part (MeganB) and follow it with a tag (string) of your choice. Of course, tags are subject to all SMTP restrictions (e.g. no spaces allowed). For example, to create a unique address to which you would like to receive all offers from your telecom provider, you could receive: [email protected].
There are a few limitations and caveats to be aware of when using plus addressing:
- Each plus address is not an alias in Exchange Online. Because of this, it can only be used to receive messages and not to send them.
- Also, this address type does not resolve to a user’s name in Outlook clients, so it can be easily identified in the To and CC fields of an email.
- If you’re working in a hybrid environment, Plus addressing won’t work for those on-premises mailboxes that don’t resolve in Exchange Online.
- Some online forms do not allow the use of a plus sign in the email field. In these cases, you cannot log in with a plus address.
Enable and disable the feature
The feature should now be enabled by default in Exchange Online for each tenant. If for some reason it’s still disabled in your organization, you can enable it in the Exchange admin center (EAC) or via PowerShell.
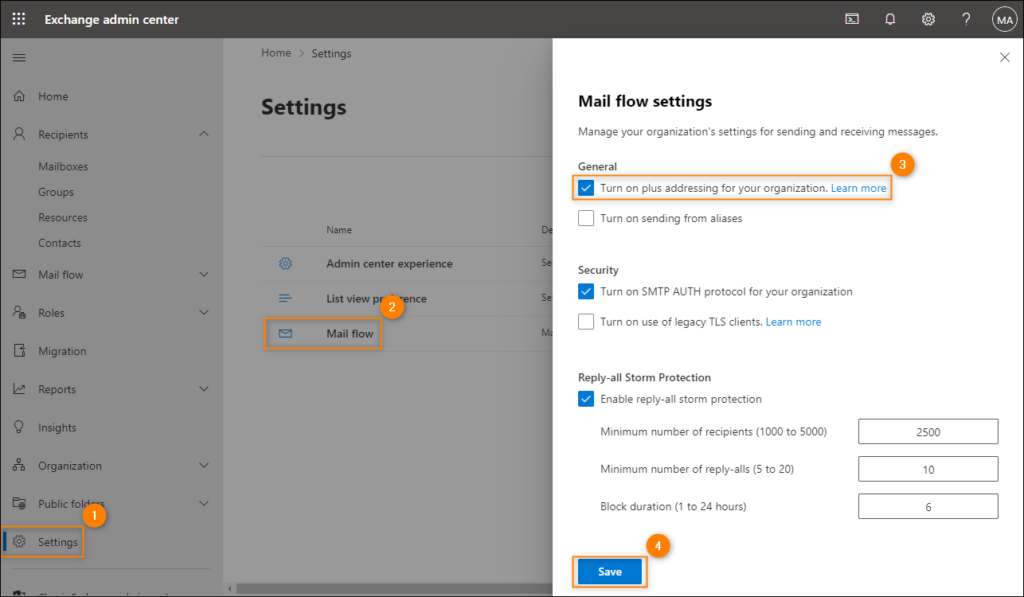
Sign in to enable Plus addressing in your organization via EAC admin.exchange.microsoft.com. Go to settings (left navigation menu) > mail flow. Next select the Enable plus addressing for your organization check box and finally click Save on computer.
To enable Plus addressing in your organization with a script, you need to connect to Exchange Online PowerShell (learn more) and run the following command:
Set-OrganizationConfig -AllowPlusAddressInRecipients $true
As with many Exchange Online settings, you will most likely have to wait several hours for the feature to be 100% available.
Before you start plus addressing, keep in mind that many organizations have historically used plus addresses in their email addresses. If your company did this too, enabling plus addressing will cause problems with those “old” plus addresses. In such a case, you can always disable the feature by unchecking the box in EAC or by using the same PowerShell command but with the $wrong operator instead $true.
Email plus addressing the basic use case
As I said earlier, plus addressing is designed to help you avoid clutter in your inbox folder. There is three Key steps to take advantage of the feature’s benefits:
- Give your Plus address to anyone you don’t want to receive emails from in your main inbox. I am sure that not all emails that you receive in your inbox are of equal importance. Newsletters, product offers, advertisements, bank statements, etc. – these messages can clutter your inbox unnecessarily. If you fill out an online form that requires you to enter an email address in order to receive such correspondence, please indicate your plus address (e.g [email protected] for bank transaction receipts) instead of your main address ([email protected]) and continue to the next step.
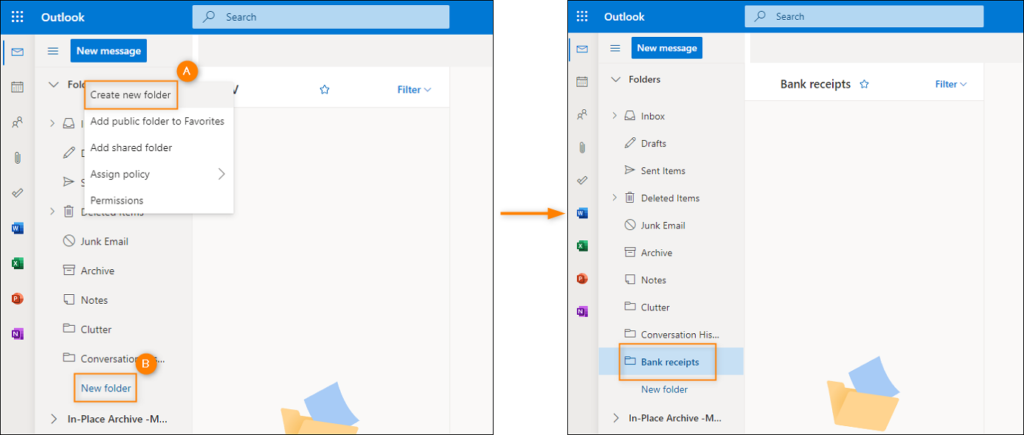
- Create a new folder where the emails will go in Outlook on the web (or any Outlook client). right click Binder and choose Create new folder (A) or just click New folder (B). Name it whatever you like. In the case of bank transaction receipts, this may be the case bank receipts.
- Create a rule to redirect messages sent to the Plus address to the newly created folder. Make sure you create the rule in Outlook on the web (OWA) and not a local Outlook client (desktop or mobile). In this way, the rule is active regardless of the Outlook client used.
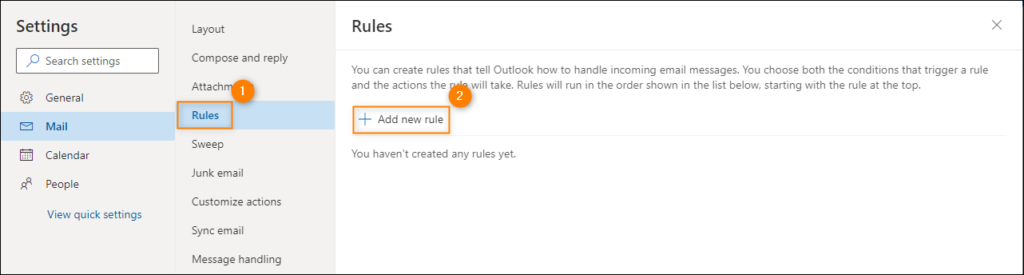
Create an inbox rule in Outlook on the web
To create the rule, do the following:
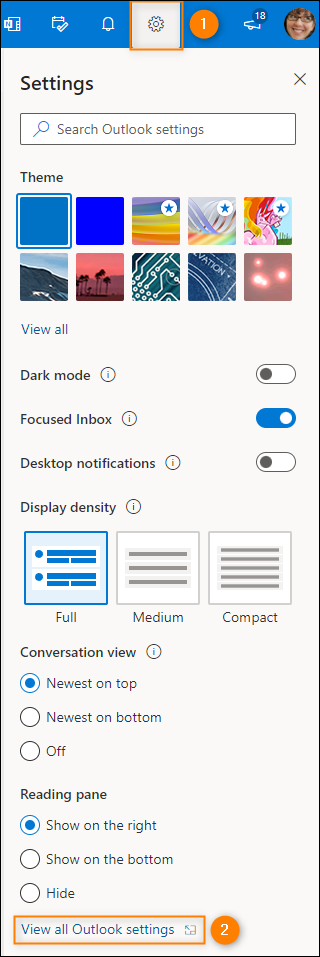
- Click the settings icon in the top right corner and select Show all Outlook settings.
- In the newly opened window, go to Rules > Add new rule.
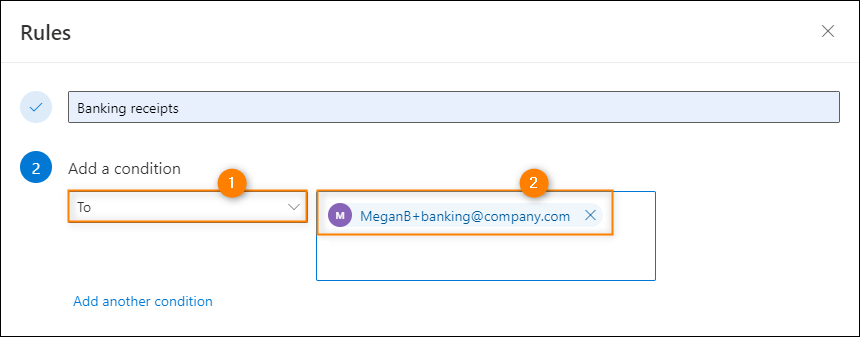
- Now name your rule whatever you like.
- Select in the second step to (under People) and enter your plus address (e.g [email protected]) in the text field.
- In the third step, specify an action. Choose Move to (under To organize) and select the folder you created in step 2 above.

- Finally you can configure the additional options, e.g. select Run rule now to run the rule and apply it to all matching emails that have already arrived in your inbox.
That’s it. Now all e-mails with a transaction receipt that are sent to the Plus address that you have specified in your bank system will be sent to the bank receipts folder and you’ll enjoy a slightly cleaner inbox. Of course, you can create as many plus addresses as you want and redirect messages (including junk mail) from specific third-party providers to specific folders in your mailbox in Exchange Online.
More specific use cases
While this is the most basic use case for the plus addressing feature, there are other fairly attractive ways to use this feature as well.
Tracking response to email campaigns
If you launch multiple email campaigns, Plus addressing makes it easier to track them. For example, you can create separate plus addresses ([email protected], [email protected] etc.) along with folders (Campaign 1, Campaign 2, etc.) for each campaign. This moves users’ responses to specific campaigns to specific folders, so you can see which campaigns are performing best.
support case tracking
If your business provides customer support and uses specific IDs to track cases, it might be a good idea to use Plus addressing to track email conversations with specific customers. For example, you could further automate the creation of plus addresses, mailbox folders, and Outlook rules so that they follow specific case IDs. In this way, the correspondence with a specific customer would be saved separately in one place (folder) to avoid errors and chaos in the support team’s inbox. Of course, this only works for a relatively small number of support cases.
Identify data leaks / email address sales practices
This is by far the most interesting use case. I’m sure you’ve experienced the situation where you give your email address to a third party and after some time you receive marketing emails from another company which you don’t remember using your email shared with you. But that’s not the worst scenario. Sometimes your inbox might be attacked by an influx of unsolicited spam messages or genuine phishing attempts. With Plus Addressing, you can now find out exactly which third party has been hacked or sold your email address to another company.
For example, because you were happy to provide your plus address [email protected] to seller #1 if he gets hacked or sells your email address to someone else, the hacker or buying party will only know your plus address ([email protected]) and not Your main address ([email protected]). Consequently, if the hacker/shopper uses the address to send spam/phishing, their messages will always reach the same Outlook folder as messages from provider #1 (not your main inbox).
Continue reading