In the last article, Advanced eDiscovery in Office 365 Explained, I shared some knowledge about Advanced eDiscovery in Office 365 – how it works, how it differs from eDiscovery. In this article, I’ll show you how to create and configure an advanced eDiscovery case in Office 365 to find relevant data.

Start creating an eDiscovery case
Before diving into advanced features, you must first create a case. Because eDiscovery mechanisms haven’t moved to the new Microsoft Security & Compliance Centers (yet, anyway), you’ll need to use the legacy Office 365 Security & Compliance Center to create a new case:
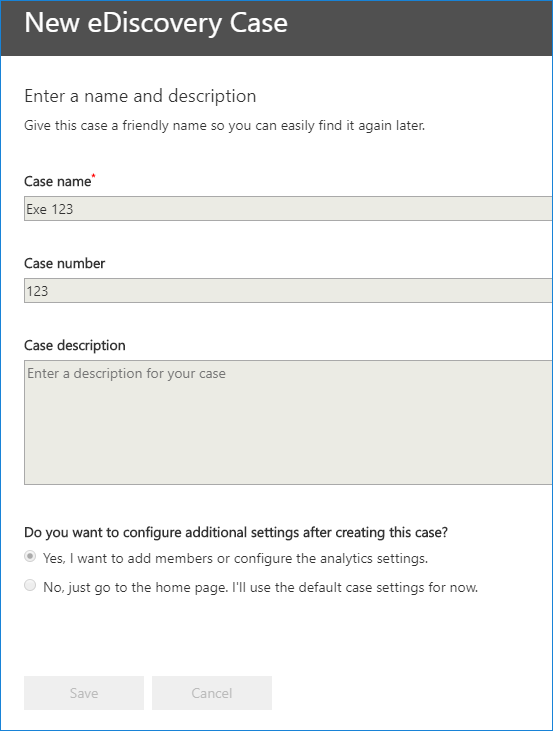
Go straight to https://protection.office.com/advancedediscoverycases and create a new case. Initially, you can only fill in the name, number and description, only the name is a required field. Advanced settings will be available soon:
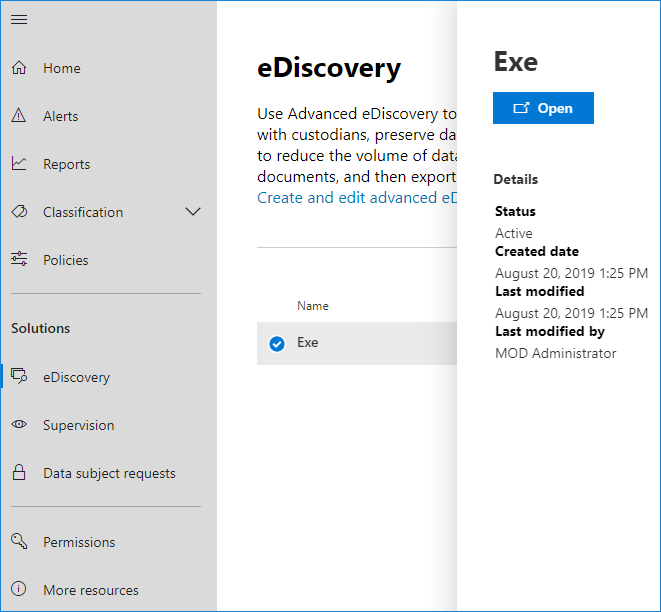
Once saved, the case will be available in both the Office 365 Security & Compliance Center where you created it and the Microsoft Compliance Center. However, if you open the case in the latter center, you will be redirected to the old Office 365 admin center:
Now the case needs to be configured. Note that if you want to use advanced eDiscovery settings such as email threading, duplication detection, themes, or OCR settings, you must configure and set them up before running your first search.
Configure your advanced settings first
To access the advanced settings, open the advanced eDiscovery case and go to the Settings tab and select the Search and analysis option:
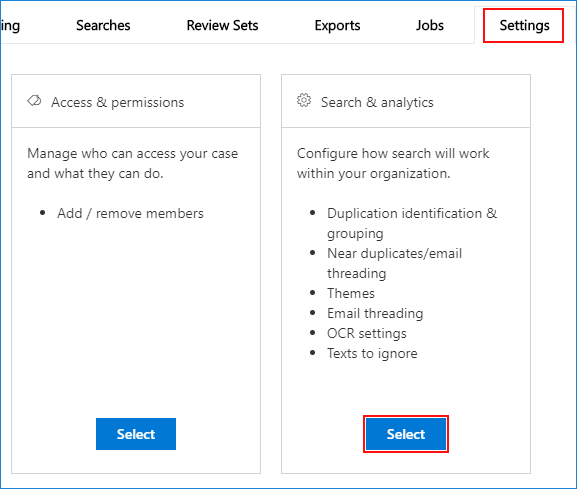
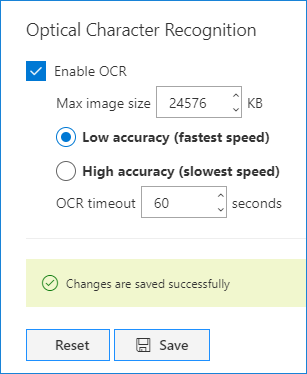
Here you can change advanced settings. While near-duplicates and themes are enabled by default and you simply need to adjust their layers, optical character recognition is disabled. If you want your searches to read text found in image files, enable it. Note that this can significantly increase the time Office 365 takes to perform searches in this eDiscovery case:
Once the advanced search capabilities are set up, you can proceed to set up the eDiscovery case. The next step is to ensure that all relevant data is not deleted.
Create holds to preserve content
Holds, also known as litigation holds are a way of preserving content – once you create them, they ensure that no relevant data is permanently deleted. Logically, this is one of the first steps you should think about if you want to preserve specific Office 365 content for litigation.
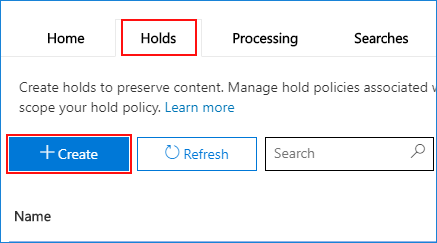
Users to whom the feature is applied can delete all items as usual, but those items will not be deleted if a Litigation Hold is active. You can use the… holds
Tab for managing this aspect of eDiscovery:
After giving your litigation hold a friendly name, you can choose which locations you want it to affect:
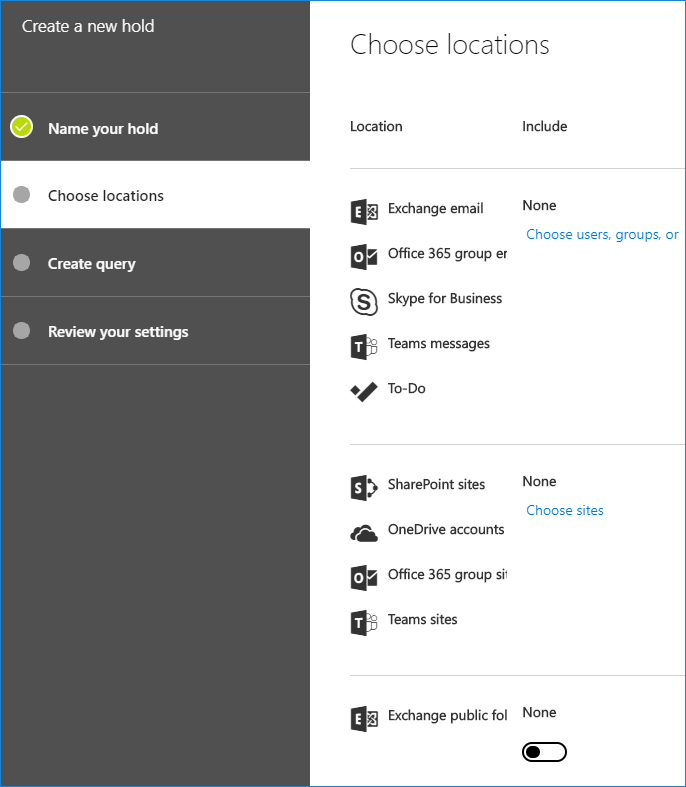
When it comes to Exchange, a hold is applied on a per-user basis. This means that even if you decide to apply the hold to a group, it will be applied to users who are currently members of that group. Hold settings are not automatically renewed for new users or revoked for removed users. You can also select the SharePoint sites whose content should be retained and decide whether or not to hold public folder data. The next tab allows you to limit the hold to a specific query:
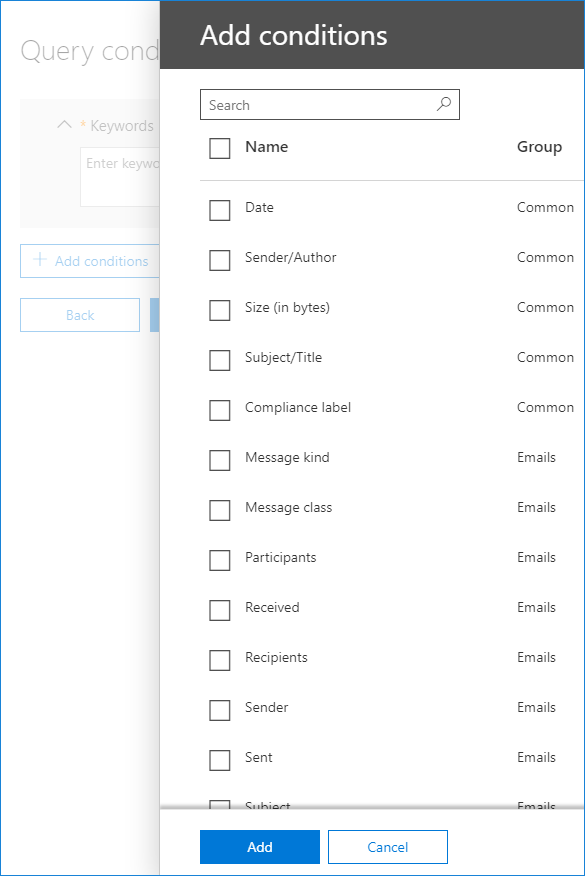
If you don’t specify any conditions, all content found in the resources selected in the previous step will be protected from deletion. However, you can specify date, size, or any other filter to back up only a specific set of items.
Note that creating holds can cause mailboxes to grow in size quickly. While size itself might not be the biggest issue, finding the right items becomes increasingly difficult when nothing can be permanently deleted from certain resources.
Find your tenant
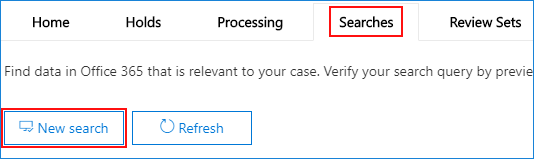
The next step is to create a valid search. When trying to find the relevant data, it is crucial to apply filters – the more you apply, the more relevant data you are likely to find. Go to the Searches tab and create a new search:
While every case will be different, it’s good practice to create very specific searches rather than trying to search for all items and then filter them. Advanced eDiscovery capabilities help achieve the highest possible item relevance; However, if you don’t use the right filters for your documents, finding the relevant data will take significantly longer.
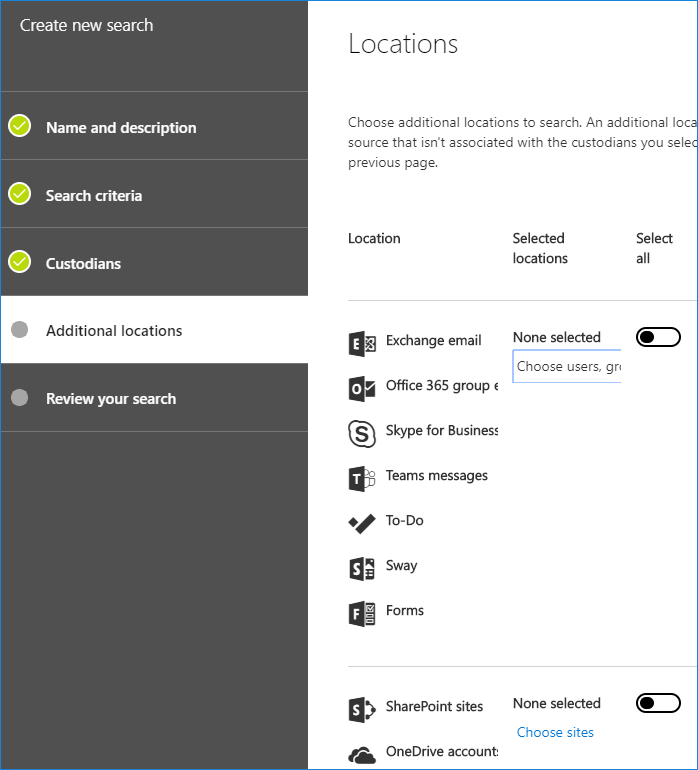
The search interface is similar to that of the holds Tab. The Keywords & Conditions selection is almost identical. The additional step is the selection of the custodian banks.
As with the Holds tab, select locations to search. The difference is that you can select all locations at once, an option only available to public folders when setting up holds:
When the setup search is complete, it’s time to use the items found in a review set.
Create an assessment set
A review set, as the name suggests, is a set of documents for revision. A set is created from one or more eDiscovery searches:
If you go to the Verification Sets tab, you can open the relevant verification set and take advantage of other advanced eDiscovery features:
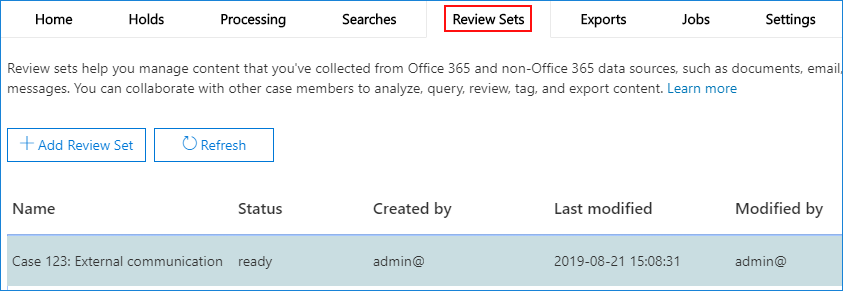
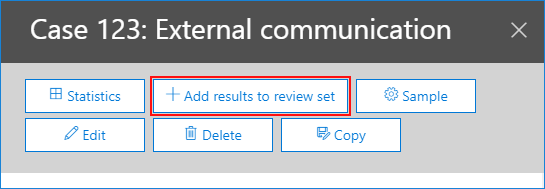
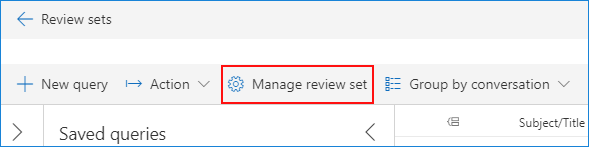
By clicking on an assessment set, it is opened and can be managed by clicking on it Manage Rating Set:
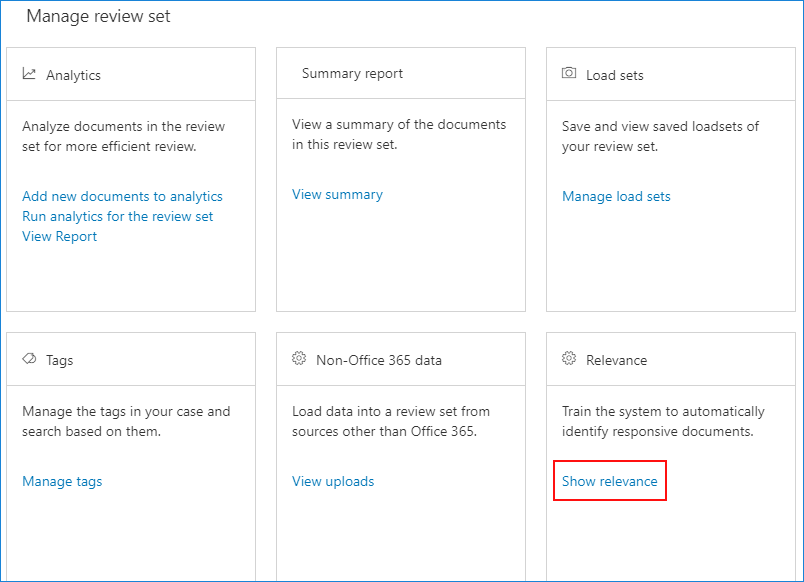
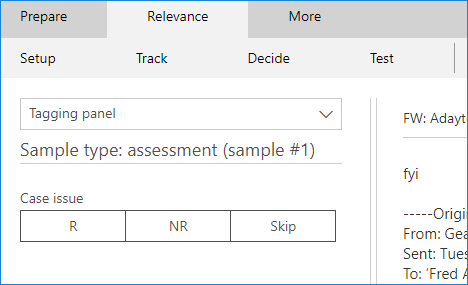
That Manage Rating Set The window contains some useful options, e.g. B. adding data from sources other than the Office 365 tenant or accessing analytics. The most important feature, however, is relevancy – which allows you to train the system to find the relevant data:
Relevance training requires a minimum of 500 documents marked as relevant or not relevant to the case. Which makes it totally unnecessary for cases, which makes it useless when your search returns fewer elements. On the other hand, the relevance function can be very helpful if your search returns more items even though you’ve filtered the results down:
Continue reading